
So here goes, I attended a Michelle Zindorf Beginner Brayer class and Advanced Brayer class earlier this month in Columbia, MO. (Yes I drove back and forth for two days, it was worth it!) She's fabulous! She also worked our tushies off! Here are the cards I made in the Beginner class. Starting with my first card....I get better with more practice.


Learning to how to control the brayer without controlling the brayer is the hard part. And going fast. The faster you go the better your results. Weird huh? Next we have my favorite card of the Beginner class.

I love this card for the color and the simplicity. Michelle gave us this card to make so we would learn how to get color all the way down the card. Lots and lots of going over the card. The cardstock gets soaked in ink. :)
The final card of the day. As you can tell I'm getting better blending colors already.

I had to take a picture of my inky fingers after this class. I've never sponged with black ink before. Talk about out of my comfort zone!

I then headed home to meet up with my brother and wife for some night geocaching. However we didn't end up doing much because his wife couldn't go and my bro had the kids. So we went to the 2600 meeting, had dinner and then found a couple of caches and our first real letterbox. After that it was time for bed as I had another full day tomorrow.
Here are the cards we made in the Advanced Brayer class. More layers of ink and lots of masking going on. Of course we can't forget all the embossing either. Lots of work but gorgeous cards.

As you can tell this card is anything but simple. Quite ironic that we stamped "simplify" isn't it? The house was stamped first and heat embossed. Then we colored over it with Versamark and embossed it two more times. So we embossed that house 3 times. And that was just the first step! I'm sure you get the picture. As you can see from my crooked stamping and oh so lovely masking that my mojo was not working that day. For some reason I just didn't have the same flow as the day before. Perhaps it was staying up until 2am....yeah that's my story.
On the the second disaster...er card.
 I didn't finish putting this card together because I messed it up so bad. I stamped my white flowers upside down. However, I wasn't alone. My table partner did the same thing. The upshot was that I won the example that Michelle makes with us to show us the steps and what the results should be. Here is her card front.
 As you can see, Michelle stamped her images correctly. Other than that, I'm pretty proud of the fact that my color and shading are pretty close to hers. On the last card of the day!
If you follow Michelle at all you know she loves to emboss and emboss resist. These trees are gorgeous and lots of work. We inked them with three different ink pads, not markers! It was like marker thumping without the marker. Then of course we embossed each tree as we stamped it. Very pretty and as Michelle says, this would be lovely in fall colors. That's it. Lots of driving and geocaching on the way home, but like I said, well worth the money and the time.
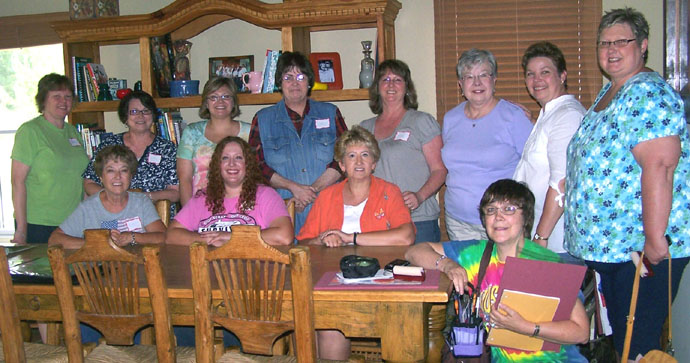
More proof that I was there! Hehehe
Thanks for stopping by!
~A
No comments:
Post a Comment